
Creating Your Perfect Wedding Timeline From A Photography Perspective
Have you ever wondered how to plan the perfect wedding timeline? Creating one will save you loads of time and confusion on your big day! It will also help your wedding photographer capture your wedding as it unfolds, naturally.
But what exactly do you include in your wedding timeline and how much time do you need to allocate for photographs at each point? Well, I’ve got 5 of the most major moments you should have on your wedding run sheet and some handy tips to help you get started!
1. TALK TO YOUR PHOTOGRAPHER BEFORE THE BIG DAY

It’s always important to talk to your wedding photographer about what you want from your photographs before the wedding, but it’s best not to bury them in a long list of specific shots.
We recommend meeting up with your photographer to find out more about how they work and get to know them better. That way they can answer any questions and help you to perfect your timeline, so you’ll feel a lot more at ease on your wedding day - and come the big day, your photographer won’t be a stranger anymore
2. START OF THE DAY PREPARATIONS
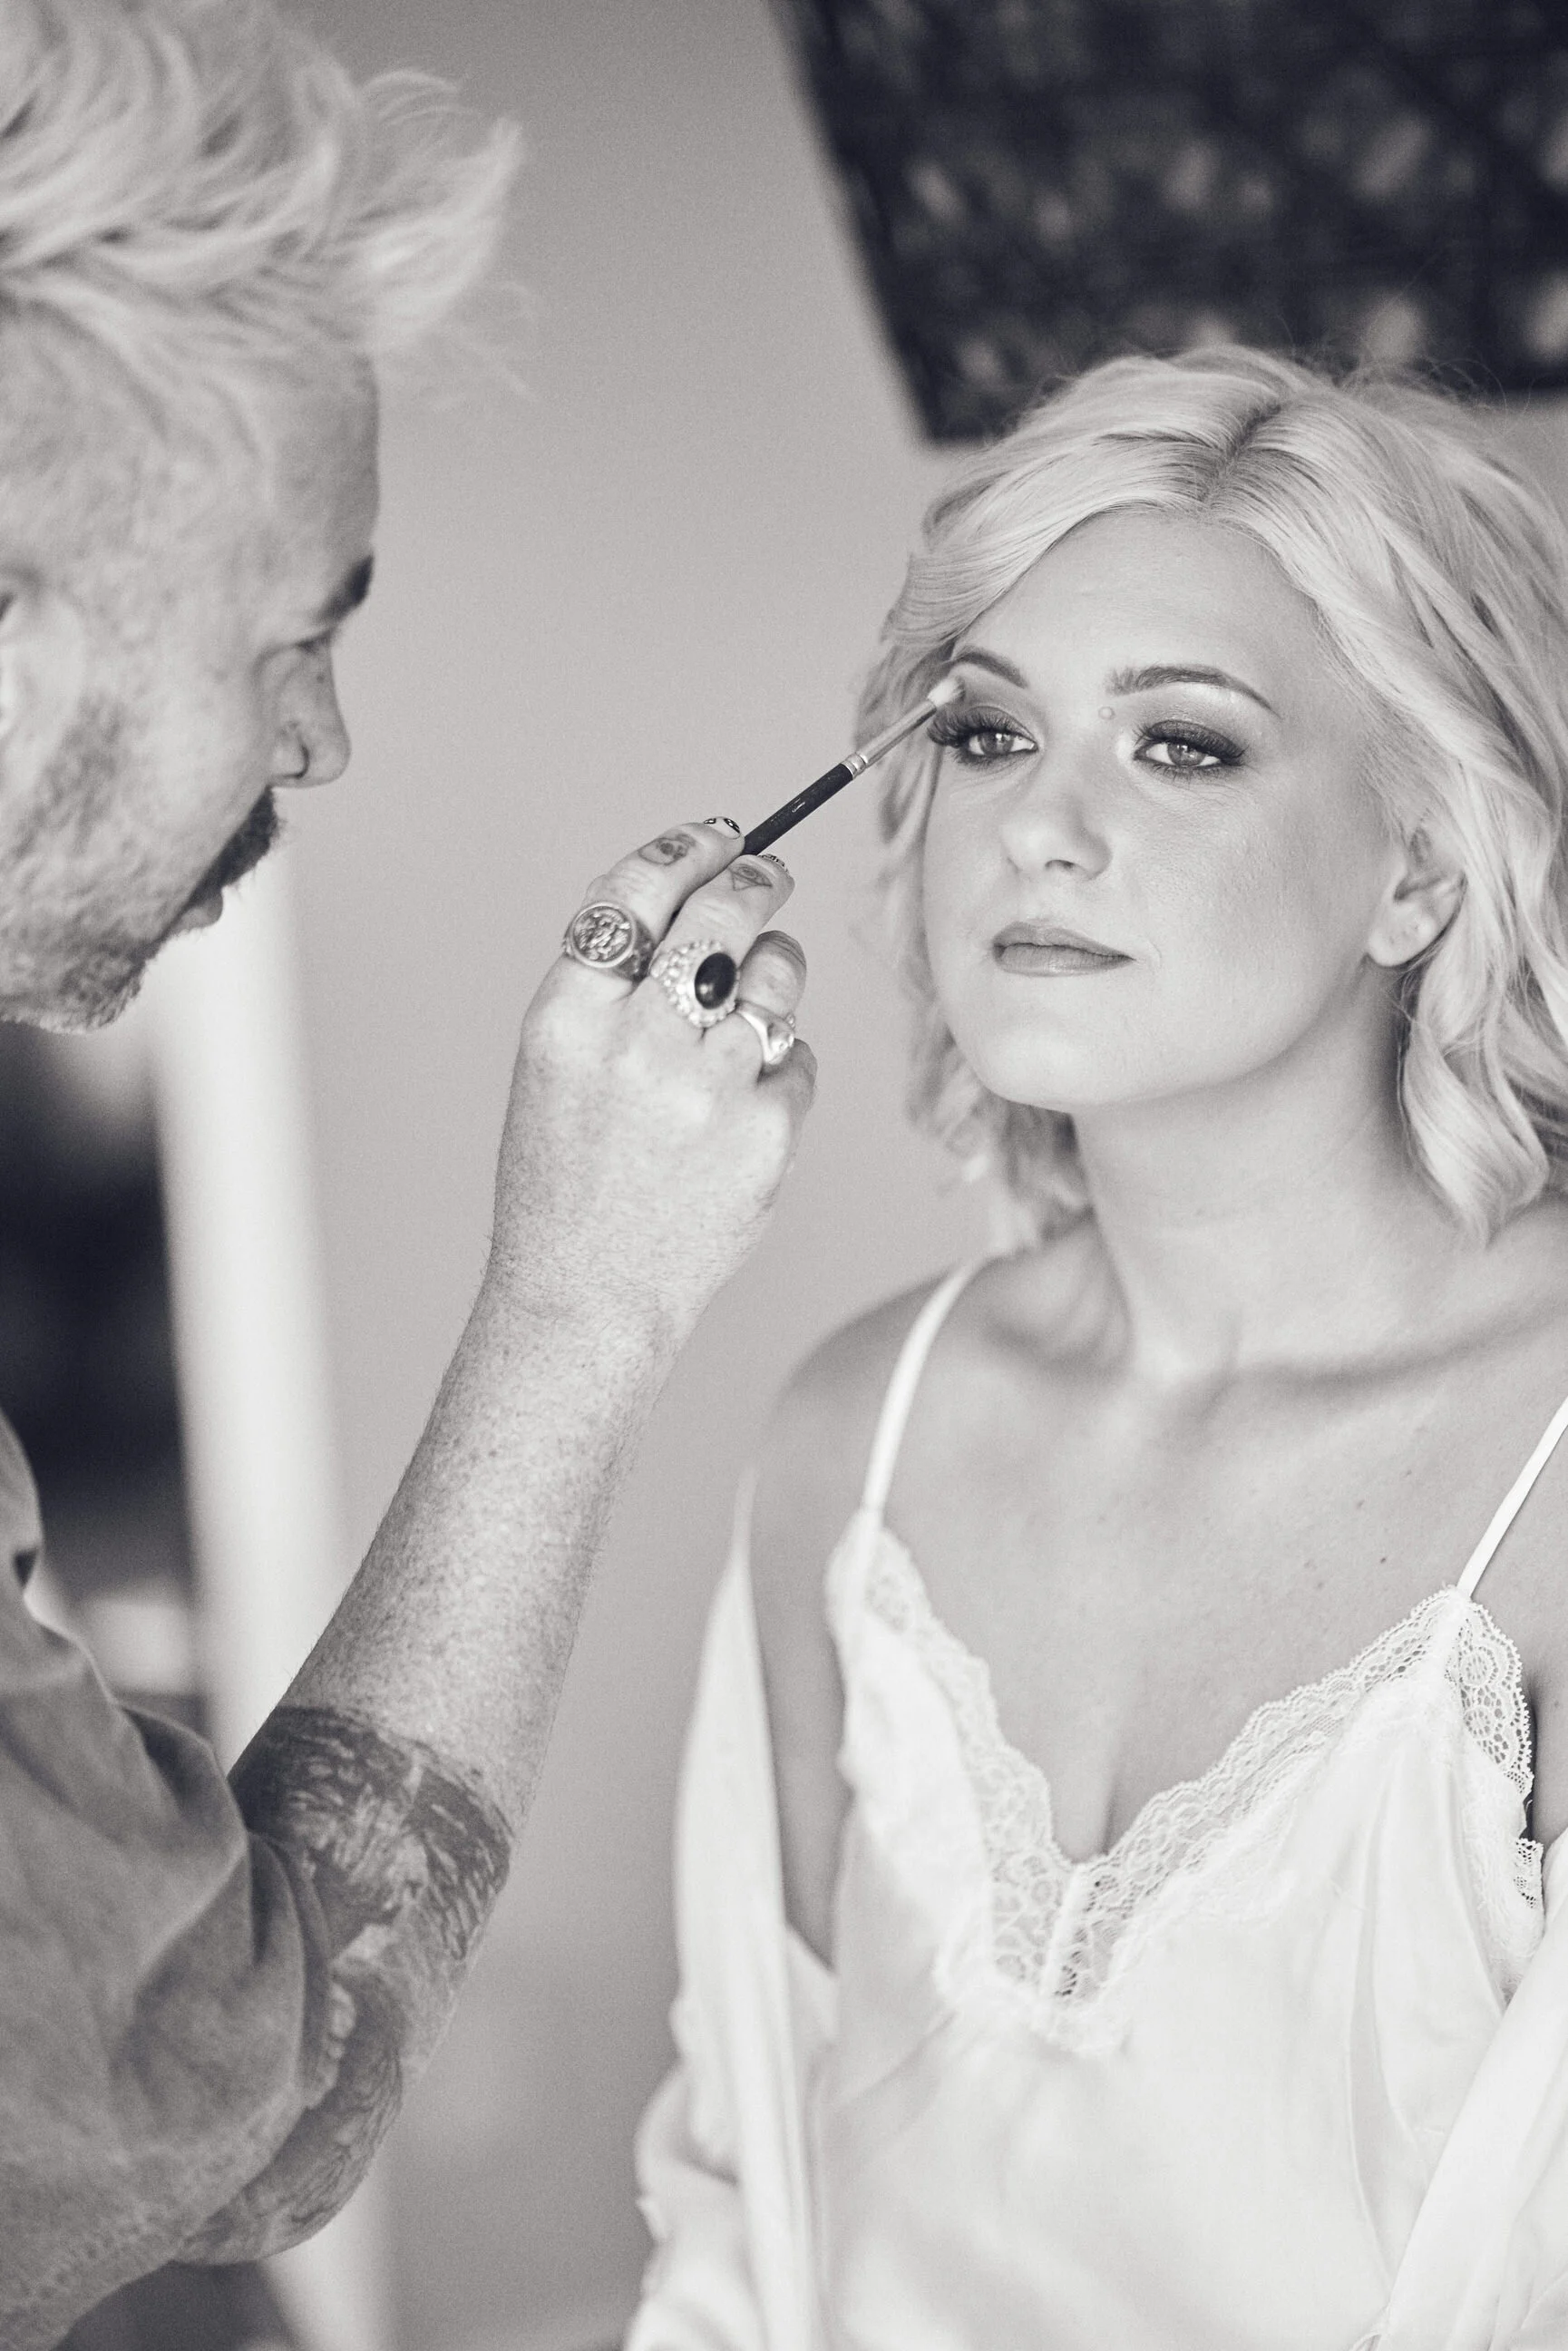
Bride + Groom:
It’s best to have your photographer start where the groom and groomsmen are getting ready. It’s much easier for the guys to pop on their suits nice and early than it would be for the bride to be dressed! That way if the guys still have a few hours to kill, they can take their wedding attire off again while they’re waiting.
Bride + Bride:
If there’s two beautiful brides, see if it’s possible to stagger your preparations. Having one bride finish 1.5 hours before the other would be ideal, although that could be a long time to wait in wedding attire, so maybe even just a little while before - especially if you’re at different locations so the photographer has time to capture the final preparations of each bride. If this isn’t possible don’t stress, there’s always something that can be worked out!
Groom + Groom:
For two grooms, let’s rock scissors paper to see who has to get ready first!
From there we like to schedule around 1 hour for photos for the guys and around 1.5 hours for the ladies, starting about 30 minutes before the bride's hair and make-up is finished so we can capture this, followed by the special moment they put on their dress / suit.
The photographer will then usually leave about 15 minutes before the bridal party or party leaving second. This is so some photos can be taken before the ceremony starts.
3. BEFORE, DURING AND AFTER THE CEREMONY

Pre-Ceremony Portraits / First look:
Some of our couples that don’t have much time between their ceremony and the reception, (or for those with FOMO who don’t want to miss a minute of the action with their friends and family!) will sometimes choose to have their wedding portraits taken before the ceremony.
This is usually coupled with a ‘First Look’ so you have a special moment seeing your partner for the first time (rather than seeing them for the first time as he/she is walking down the aisle). From here, we venture off for the wedding portraits and then the ceremony. Arranging your day like this can work really well and at times mean the day feels a little more relaxed.

The Group Shots:
After the ceremony, many couples like to have family and group photos. A little trick is to already have a list of the group photos you would like taken with a family member or friend to get everyone lined up and ready to go! You would be amazed at how much time this saves!

Portraits:
Next up is usually your wedding portraits - the photos you have taken with your new husband or wife and your bridal party. For this, we like to allow a minimum of an hour to 1.5 hours if possible and even longer if you have a really big bridal party!
Make sure you factor in any drive time to get to your chosen location, followed by the drive time to the reception to make sure you arrive on schedule.
4. RECEPTION

If you’ve followed Tip #1 and already had a chat with your photographer, the reception will be the time that they just do their thing! They will be running around in the background capturing the moments and making sure they get any extra snaps you were hoping for. All you need to do is relax and have fun!
5. SUNSET PHOTOS

If you’re getting married at a location with a stunning outlook or outdoor space, consider factoring in some time at sunset to have some portraits taken. The light around sunset is the best light of the day and this plays such an important part in photos - so it’s well worth making some time (you won’t need long, maybe 15 minutes) to have a few extra photos taken.
And that’s it - 5 moments you should include to create the perfect wedding timeline!
To help you get started at home, here’s a sample timeline – this is an example from a Newcastle wedding where the bride and groom stayed at the same location as the wedding and reception.
11:15am Photography/videography starts at Groom’s accommodation for preparation photos
12:30pm Photography/videography arrive at the Bride’s accommodation for the next 1.5 hours for preparation photos and video
1:00pm Hair and makeup finishes and Bride gets into wedding dress (photo / video continues)
2:00pm Preparations photos finish
3:00pm Ceremony
*After ceremony - Group and family photos
Ludo and I want to make organising your wedding photography as seamless as possible. If you’re unsure of how your timeline is looking in relation to fitting in all the photos or filming you want on your big day, feel free to ask us! By this point, we’ll have a much better understanding of your wedding and we’re always more than happy to work with you on the logistics to perfect things.